feature
Latest

Nikon’s Z8 is a phenomenal mirrorless camera for the price
Nikon's Z8 is one of the highest resolution full-frame cameras with 45 megapixels, but is also one of the fastest and has incredible video capabilities too.
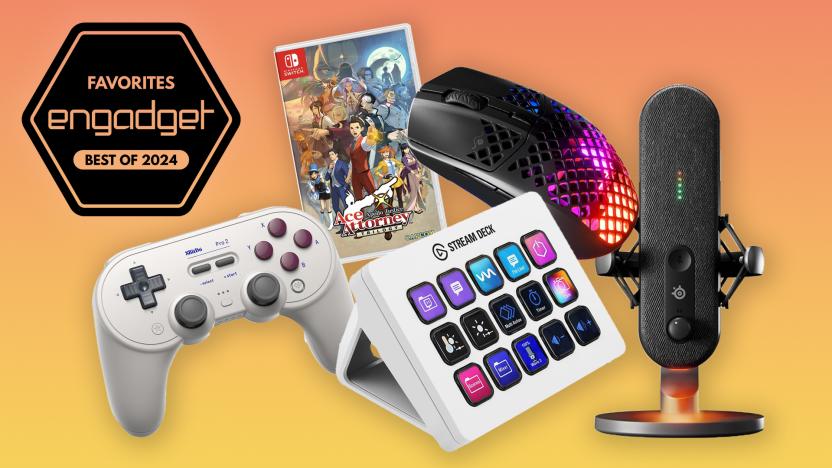
The best gaming gear for graduates
New graduates have earned the time to unwind after a busy year. These pieces of gaming gear would make great gifts for the new college graduate in your life.
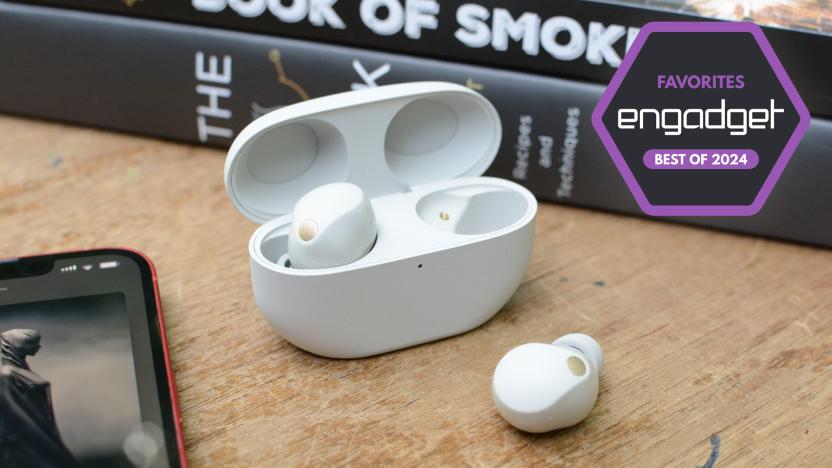
The best wireless earbuds for 2024
It's safe to say the wireless earbuds space is pretty saturated. We've tested and reviewed dozens of models; these are our top picks.
The best gifts for teachers
Show your favorite educator that you appreciate their hard work with these tech gift ideas.
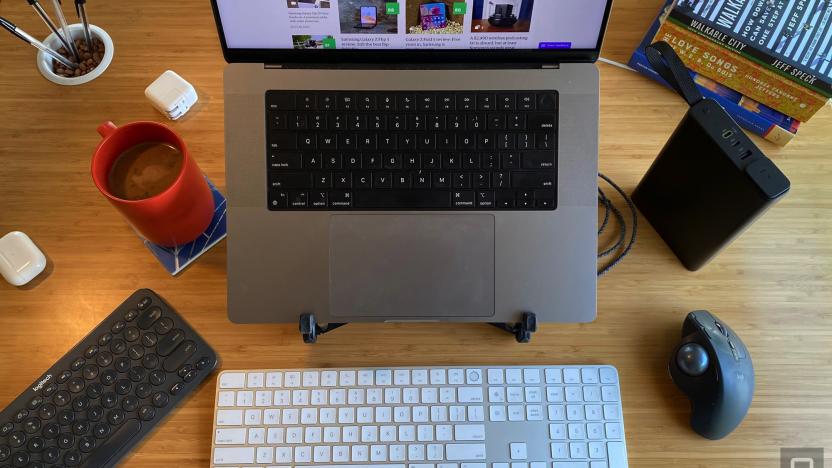
The best MacBook accessories for 2024
Here are the accessories we use and recommend to improve the ergonomics, connectivity and overall productivity of your MacBook.

The best ereaders for 2024
We tested ereaders from Kobo, Amazon, Boox and more to see which one is the best overall, along with a budget pick and the best one with page-turn buttons.
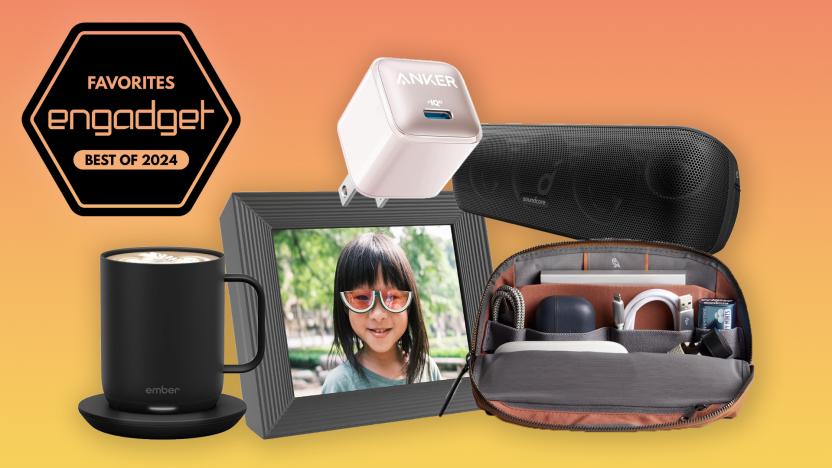
The best gifts for grads under $50
A great gift for the recent graduate in your life doesn't have the break the bank. Here are some tech gift ideas that will make their lives better, each coming in at $50 or less.

Mercedes-Benz quad-motor G-Class could be the ultimate EV off-roader
The Mercedes-Benz G-Class has been in regular production since 1979. It's changed a lot since then, but it's never seen a change quite like this. Meet the Mercedes-Benz G 580 with EQ Technology.
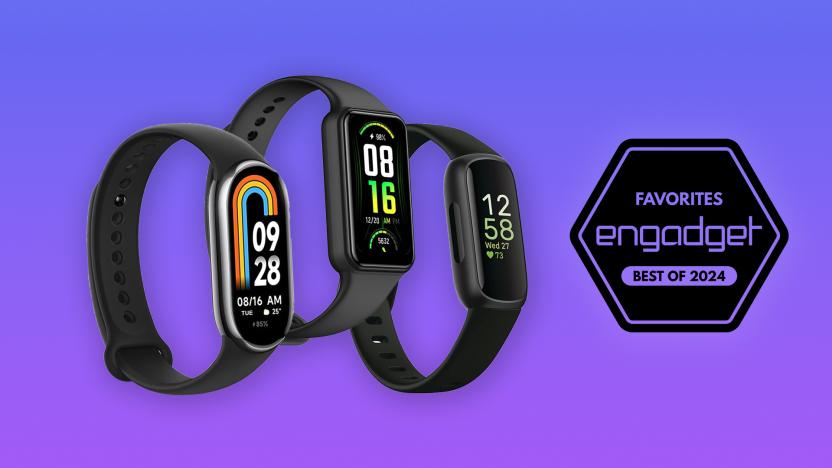
The best cheap fitness trackers for 2024
Here are the best cheap fitness trackers you can buy for $100 or less, as tested by Engadget editors.

The best microSD cards in 2024
Here's a list of the best microSD cards you can buy, as chosen by Engadget editors.
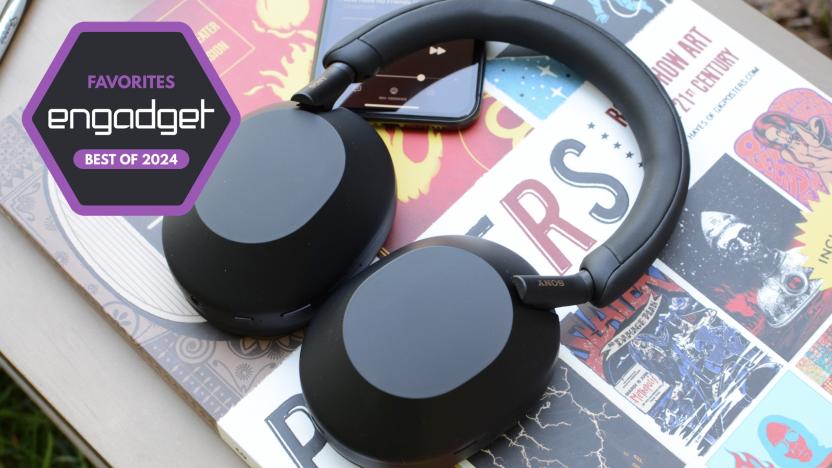
The best noise-canceling headphones for 2024
Noise cancellation is a primary feature on most flagship, over-ear headphones. If you're looking to get a pair of cans that can truly block out the world, these are the best noise-canceling headphones you can get today.

The best travel gear for graduates
For those recent grads itching to get away after a busy semester, these are the best travel gifts you can get them.
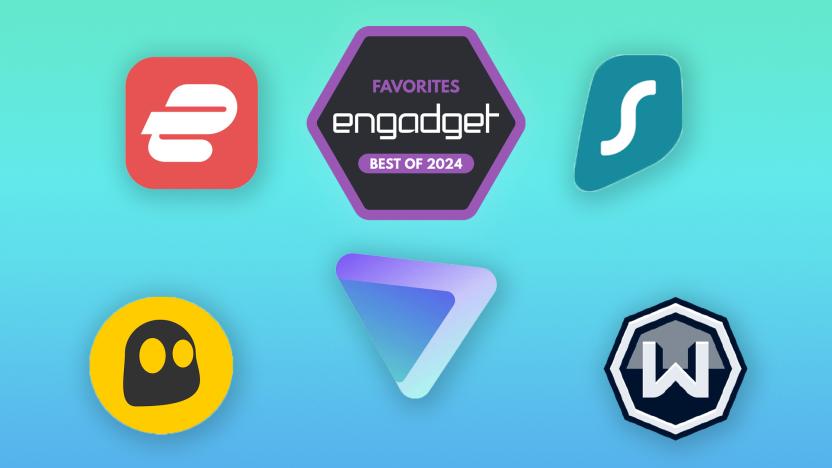
The best VPN service for 2024
VPNs are not a one-size-fits-all security solution. Instead, they’re just one part of keeping your data private and secure. We tested out nine of the best VPNs available now to help you choose the best one for your needs.

What we watched: Bluey’s joyful finales
Bluey closed out its third season with two episodes of joyful highs and weepy lows.

The best college graduation gifts
Graduating college is a huge accomplishment — celebrate the new grad in your life (and help make their transition into adulthood easier) with these tech gifts.

The best E Ink tablets for 2024
Here's a list of the best E ink tablets you can buy right now, as chosen by Engadget editors.
The best PS5 games for 2024: Top PlayStation titles to play right now
Here are the best games you can get for the PlayStation 5 right now, as chosen by Engadget editors.

The 6 best Mint alternatives to replace the budgeting app that shut down
Intuit has shut down the popular budgeting app Mint. Engadget tested a bunch of popular alternatives. Here are our favorites.
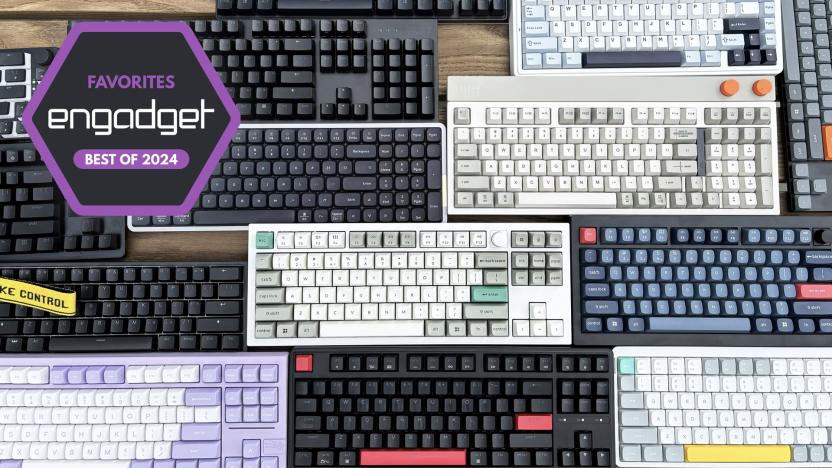
The 5 best mechanical keyboards for 2024
Here's everything you need to know before buying a mechanical keyboard, plus the best mechanical keyboards you can get right now.
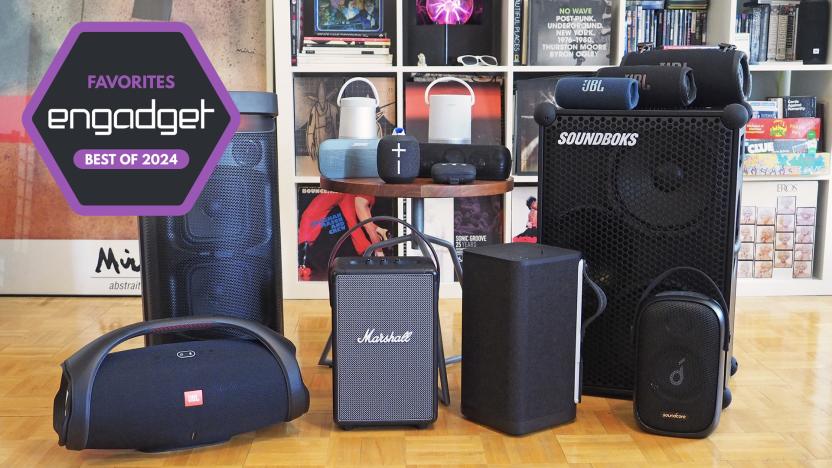
The best Bluetooth speaker for 2024: 15 portable options for every price range
The Bluetooth speaker space is oversaturated at this point. We set out to find the best portable Bluetooth speakers across a number of different price ranges and uses cases. These are our favorites.


